What does it mean to adopt construction technology at scale?
Construction technology pilots usually start out promising. A few engaged teams, a one or two projects, results worth talking about. The real test comes when it’s time to roll it out across more projects, teams, and regions. Will the technology hold up when the conditions aren’t ideal or the superintendent on-site didn’t ask for it?
When done right, implementing OpenSpace at scale is a game-changer for all construction teams, not just the ones with the most engaged superintendents. In this on-demand webinar, OpenSpace Solutions Engineers share practical guidance for getting started with OpenSpace and tips for how our Visual Intelligence Platform can make your day to day work easier and faster. Here are some key takeaways from the webinar—valuable advice whether you’re new to using OpenSpace or still evaluating:
- Define clear use cases before you roll out
- Bring field and office teams into alignment early
- Standardize project setup and workflows across the board
- Keep site capture consistent from project to project
- Connect OpenSpace to the tools your teams already use
- Track adoption and build from there
Why is seamless technology implementation important in construction?
When technology investments fail, it’s usually not because the product doesn’t work, it’s because the teams who need it most never actually use it. When implementation is fragmented; different setups on different projects, inconsistent capture cadence, no connection to existing workflows, the value doesn’t go beyond the pilot, never reaching the portfolio.
OpenSpace is built to fit the way construction teams already work. Consistent use across projects gives every stakeholder clear, shared visual records that reduce rework and lower costs. When the technology fits the workflow, and is easy to use, adoption sticks.
What should you consider before adopting OpenSpace?
To set your teams up for success, be sure to define and agree on the specific use cases you want the platform to support.
Pre-implementation checklist
- Define key use cases (QA/QC, coordination, documentation)
- Identify stakeholders (project managers, superintendents, tech leads)
- Assign clear roles and responsibilities
- Align on expected outcomes
It’s important to identify your key stakeholders early on. Project managers, superintendents, tech leads, and anyone responsible for documentation should be brought into the process from the beginning. Defining roles and responsibilities ensures everyone knows who is doing what; whether it’s setting up projects, capturing site data, or managing access. As one of our customers wisely noted, “It’s not just about the tech; it’s about making sure people understand and own the process.”
How to set up your first project in OpenSpace
Setting up your first project in OpenSpace is designed to be intuitive. It only takes a few clicks. You begin by creating a new project with just a name and address.
From there, you upload your floor plans—these can be traditional architectural sheets, Google Maps screenshots, or even hand-drawn layouts created in tools like MS Paint. The idea is to remove any barrier to entry. Once uploaded, you can select and rename sheets to make them easily identifiable for your field teams.
OpenSpace is built to be flexible, so you can get started with whatever you have available. Once you have your floorplans ready, you can start capturing.
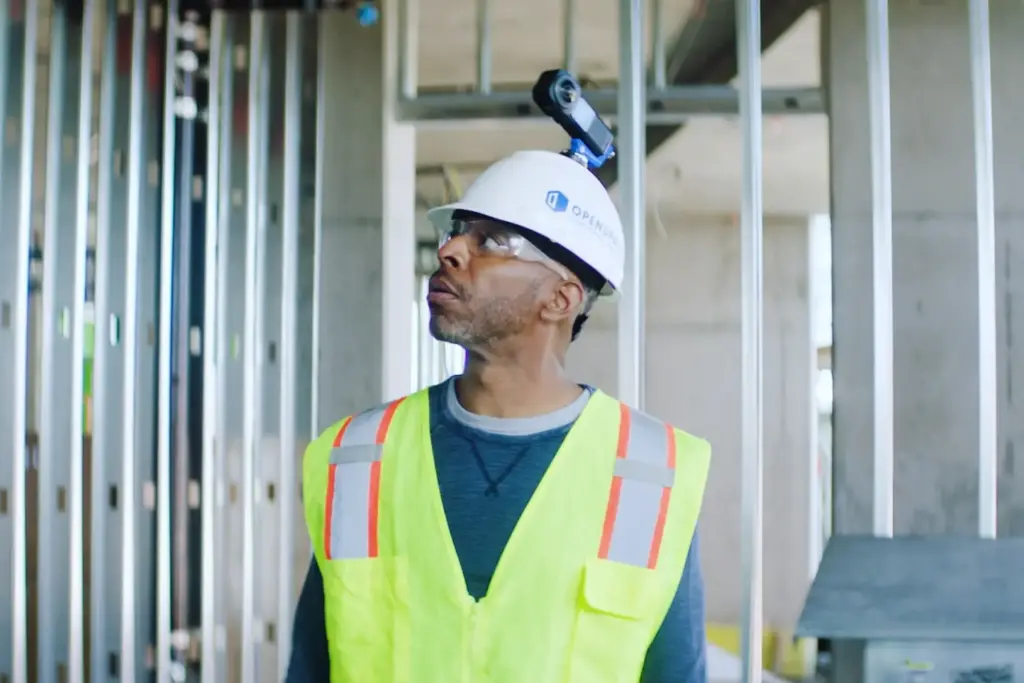
Getting the right hardware for the job
OpenSpace works with affordable, off-the-shelf 360° cameras, such as the Ricoh Theta or Insta360. These are the same types of cameras people take on ski trips—durable, simple, and cost-effective. For easy capturing simply attach the camera to your hardhat or use a selfie stick to position the camera at optimal heights.
Additional accessories like external battery packs are useful for longer site walks, and good lighting is essential for capturing high-quality images, especially in dimly lit environments. A lens cap also goes a long way in protecting your equipment between uses.
How to get the best results
Capturing site data effectively is all about consistency and coverage. Walks should be thorough—cover the entire site, including every hallway and room. To build a complete visual history of your project, establish a regular capture schedule, such as weekly site walks. Plus, capture your site before major construction milestones like concrete pours or drywall installation.
Documenting with OpenSpace is intuitive and easy, with features like heat maps to show where you’ve walked before. For the best image quality, keep your camera lens clean and ensure the site is well-lit.
How do you integrate OpenSpace into daily workflows?
OpenSpace is designed to enhance your current workflows; not replace them. With our image-based task management solution, you can create and manage tasks and issues on the jobsite. Instead of writing things down later or re-entering notes back at the trailer, your team can log issues with Field Notes in seconds during a walk, right from their phone. Every item is automatically tied to a photo and its exact location on-site, so there’s no confusion about what needs to be fixed or where. Importantly, we have deep two-way integrations with Procore and Autodesk, meaning observations, issues, and statuses stay current across both systems, without double entry.
OpenSpace also offers permissions settings to ensure the right people have the appropriate level of access, from organization admins to project viewers. Flexible permission options allow you to share specific data with stakeholders, subcontractors, or owners while keeping control over the full project view.
How do you scale OpenSpace across multiple projects?
The short answer: Scaling OpenSpace comes down to three factors: standardized project setup, centralized admin controls, and consistent capture practices. No heavy IT lift or project-by-project reconfiguration required.
Once you’ve successfully implemented OpenSpace on one project, expanding to other projects can take just a few clicks. From your organization’s dashboard, you can easily create new projects and manage them individually.
Admin reporting allows you to track key metrics such as capture frequency, top users, and Field Note volume. Export reports to CSV files, and, with the Usage API, create custom dashboards in tools like Power BI to monitor adoption and impact. Demonstrating OpenSpace scalability is customer McLaren, who rolled out the platform across 34 active projects in just eight months.
OpenSpace adoption FAQs
Can you use OpenSpace on multiple projects at once?
Yes, OpenSpace is designed to scale with you, across multiple teams, projects, and regions. You can learn more about using OpenSpace on one project or your full portfolio on our Pricing page.
What support is available for OpenSpace users?
OpenSpace provides support at every stage of implementation. We have dedicated specialists who can assist with onboarding, training, and technical questions, while Account Executives are available for commercial inquiries. Our dedicated 24/6 Support team is also available to help with everything from camera setup to troubleshooting.
For ongoing education, the OpenSpace Academy offers step-by-step online courses and certification options—available to customers or anyone exploring the platform.
Want to learn more about how to implement OpenSpace for maximum value?
Here are some resources you might find useful:
[Webinar] Insights for success: implementing OpenSpace and accelerating adoption
[Webinar] Getting the most out of reality capture: how to quantify value, savings & productivity
[Blog] Construction tech enterprise rollouts—advice from the experts
[Support center] Getting started with OpenSpace
If you’re ready to transform how your team documents and manages jobsites, request your personalized demo here.