2025: An inspirational year of innovation & building
As the year wraps up, I want to say something pretty simple: ...
September 2, 2025
Jobsite intelligence from site imagery gets you the answers you need. And one of the fastest and easiest ways to capture your site is using 360° photo documentation. With our reality capture technology, you can walk the jobsite like you normally do and OpenSpace will automatically timestamp and map your images to your plans. In the end, you’ll have complete documentation, reduced rework costs, and better collaboration with all teams. And the time savings is real—documenting with OpenSpace is at least five times faster than manual capture.
While OpenSpace is incredibly easy to use, people often ask us for best practices for the most effective construction site walks with our 360° reality capture. And we’re glad you asked, because small adjustments and best practices can go a long way.
So here are our top five tips for successful construction site walks with OpenSpace.
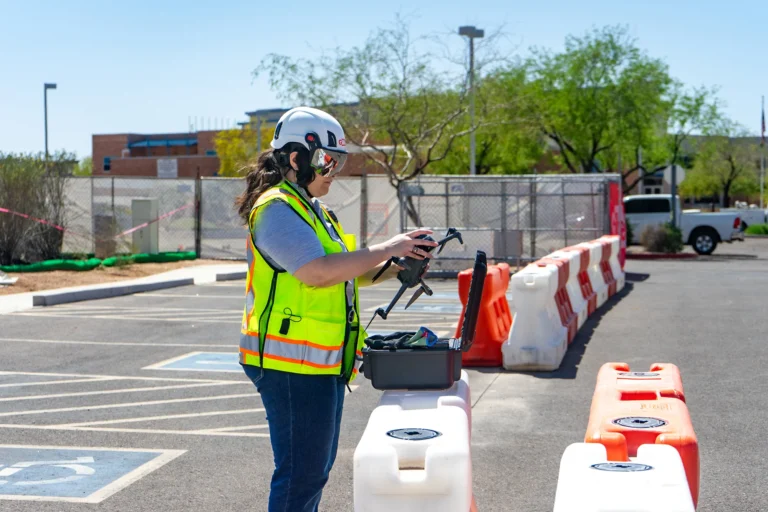
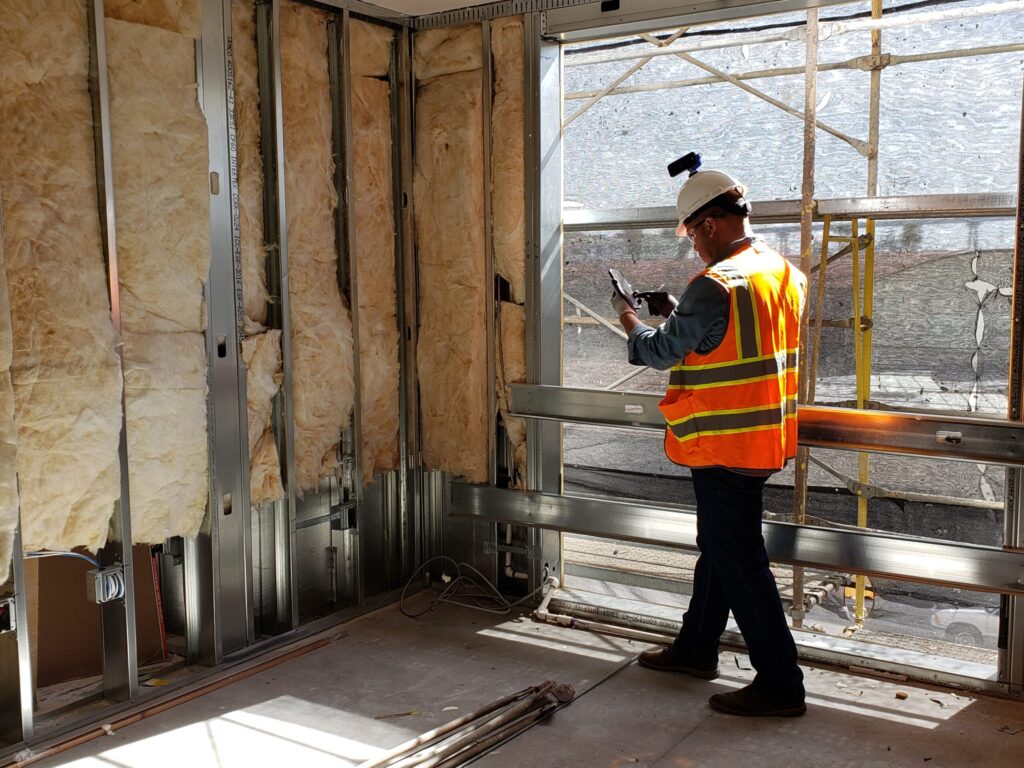
As in other types of photography, good lighting makes all the difference. In the case of 360° photo documentation software, strong light helps your camera take high-resolution images while minimizing motion blur. If the space you’re documenting has poorly lit areas, we recommend hardhat lighting options like the Litra Torch or Illumagear Halo. You can always reach out to OpenSpace Support for advice on recommendations for your particular jobsite.
It’s also important to keep your lens clean—wipe it off before you go on a site walk and don’t touch it with your fingers. Lens wipes work the best, but you can also use a microfiber cloth to give your lens a quick wipe before you head out.
Notes:
When viewing your images, you can also choose to show the best frames in your OpenSpace captures. In the 360° pano viewer, select Capture path settings and toggle on Show best frames. As you navigate, the clearest images in your path will be indicated with a circular icon.
Simply walk the space, taking it all in, with no hurry in mind—knowing that the camera will document all 360 degrees around. No need to look up/down/left/right—we’ve got your imagery covered. What is important is to make sure you cover all the areas of the site—complete coverage ensures you capture everything (you never know what you may need to uncover later). Walking within 10 feet of items is a perfect distance—any closer than 5 feet distance may impact the image quality.
To illustrate this point, below are examples of two site walks. In the second picture, you can see that the walker captured each room and covered significantly more ground. This approach will help your team in the long run with richer 360° photo documentation and the ability to compare locations on different dates.


If your project has multiple levels or areas, remember to upload all relevant sheets to OpenSpace before walking your site. Then, make sure to start a new capture on the correct sheet in the OpenSpace app every time you move between levels or areas during your site walk. This will ensure your location is captured accurately and reduce the processing time of your 360° photo documentation.
Scan and go. If you have numerous floors you typically walk, you can also use our QuickCodes feature. You’ll generate QR codes and place them on-site at your regular capture start locations. Then simply scan the code and your 360° capture automatically starts—with the correct project, floor plan, and location already selected. Save valuable time on capturing and on training new users—no detailed instructions or onboarding sessions needed.
With our Field Notes feature, you can document something you see in greater detail while you’re performing a site capture with your 360° camera. Field Notes organizes 2D images and comments in OpenSpace, mapped to the floor plan and in context of the project. This feature is great for keeping track of observations, flagging issues, streamlining punch lists, speeding up RFIs, and more. (Plus they integrate with tools like Procore and ACC.)
Here’s how it works: While capturing a site during a 360° capture, tap the camera button in the OpenSpace mobile app, snap a photo (as many as you desire), and add your images to a Field Note. Then add all relevant information—descriptions, markups, comments, attachments, due dates, and more to describe the context of your Field Note. OpenSpace automatically timestamps and pins these notes to your floor plan. And don’t worry, creating a Field Note won’t disrupt your 360° capture process, feel free to continue your walk.
When you’re done with your walk, you can upload the images directly from your mobile device. Or, if you have many captures to upload, your captures are lengthy, or you have spotty WiFi coverage, head back to your computer and upload your video with our Desktop Sync App.
Here are some helpful resources related to this article. If you’re interested in starting with OpenSpace to document your construction projects, reach out to talk to one of our experts and to get a personalized demo.